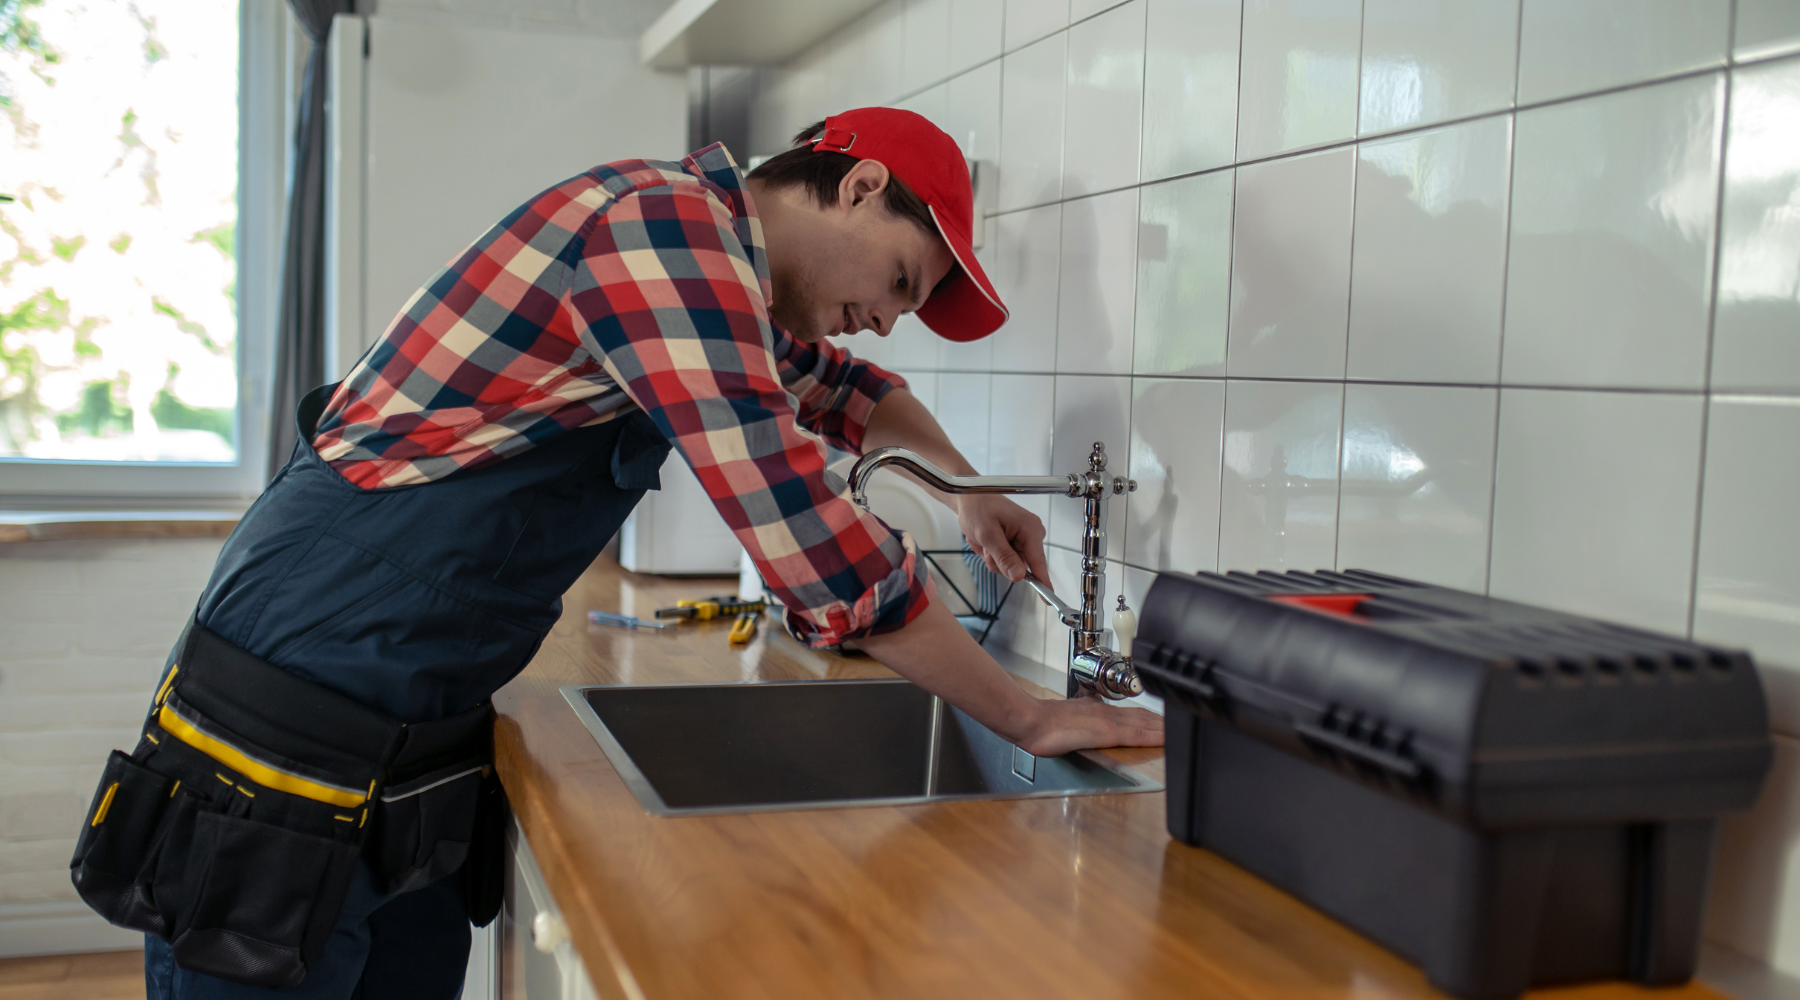
Mastering the Art of Tap Disassembly and Reassembly with FIX-A-TAP
Why You Need to Disassemble a Tap
Maintenance Regular maintenance is crucial to keep your tap in optimal working condition. By dismantling your tap, you can access various parts for cleaning, lubricating, and replacing, preventing leaks and extending the tap's lifespan.
Repair When it comes to tap repair, disassembly is often necessary to identify and fix faulty components. At FIX-A-TAP, you can find all the tap spare parts you need to complete the job efficiently.
Adjustments Is the water flow irregular? Is the temperature not quite right? Internal adjustments can restore your tap to its proper working order.
Key Parts of a Water Tap
Understanding the key components of a water tap, such as the flange, tap bonnet, o-ring, spindle, and more, is essential for successful disassembly and reassembly.

How to Disassemble a Tap
-
Prepare Your Workspace Ensure the water supply is turned off and your tools are organized. Taking photos as you go can help you remember the assembly sequence.
-
Step-by-Step Guide
- Turn on the tap to remove excess water.
- Unscrew the tap button or grub screws and remove the handle.
- Unscrew and remove the flange.
- Use a tap spanner to unscrew the tap bonnet and spindle assembly.
How to Reassemble a Tap
Reassembling your tap requires precision to avoid damaging components. Follow these steps:
-
Gather Necessary Parts Locate new FIX-A-TAP tap valves, body washers, and o-rings.
-
Lubricate Components Apply a quality lubricant, such as FIX-A-TAP, to the o-ring, tap bonnet, and spindle assembly.
-
Reassemble with Care
- Reassemble the tap bonnet, flange, and handle.
- Ensure all components are securely fixed, but avoid over-tightening.
- With the tap turned off, turn on the mains water supply.

